While using your favorite app named alight motion in APK version, there are many questions arising in user’s mind. Here we are going to discus one of those most asked and popular question that “how to move layers in alight motion?”
Creating layers and adjusting their position from top to bottom in video editing and animation software is a fundamental technique for crafting visually complex and engaging content. This guide provides a step-by-step approach to mastering the creation and manipulation, ensuring your projects benefit from depth, organization, and dynamic storytelling.
You may like techlaraspot.com
Understanding Layers
In video editing and animation software function similarly in traditional art; they allow you to stack different elements over each other. Each layer can contain a piece of media (like images, text, or video clips) or effects, and you can manipulate them independently. This layer-based approach facilitates non-destructive editing, meaning you can adjust or remove an element without affecting the rest of your project.
Step 1: Creating Layers
Start a New Project: Open your software and start a new project. Define your project’s settings such as aspect ratio, frame rate, and resolution.
You may like Alight Motion Fonts
Add Media: Import the media files you want to use in your project. This can typically be done through a menu option like “Import” or “Add Media.”
Creation: Each piece of imported media will usually be placed on its own layer automatically. If you need to add more (for text, shapes, or additional effects), look for an option like “New Layer” in the software’s menu or toolbar.
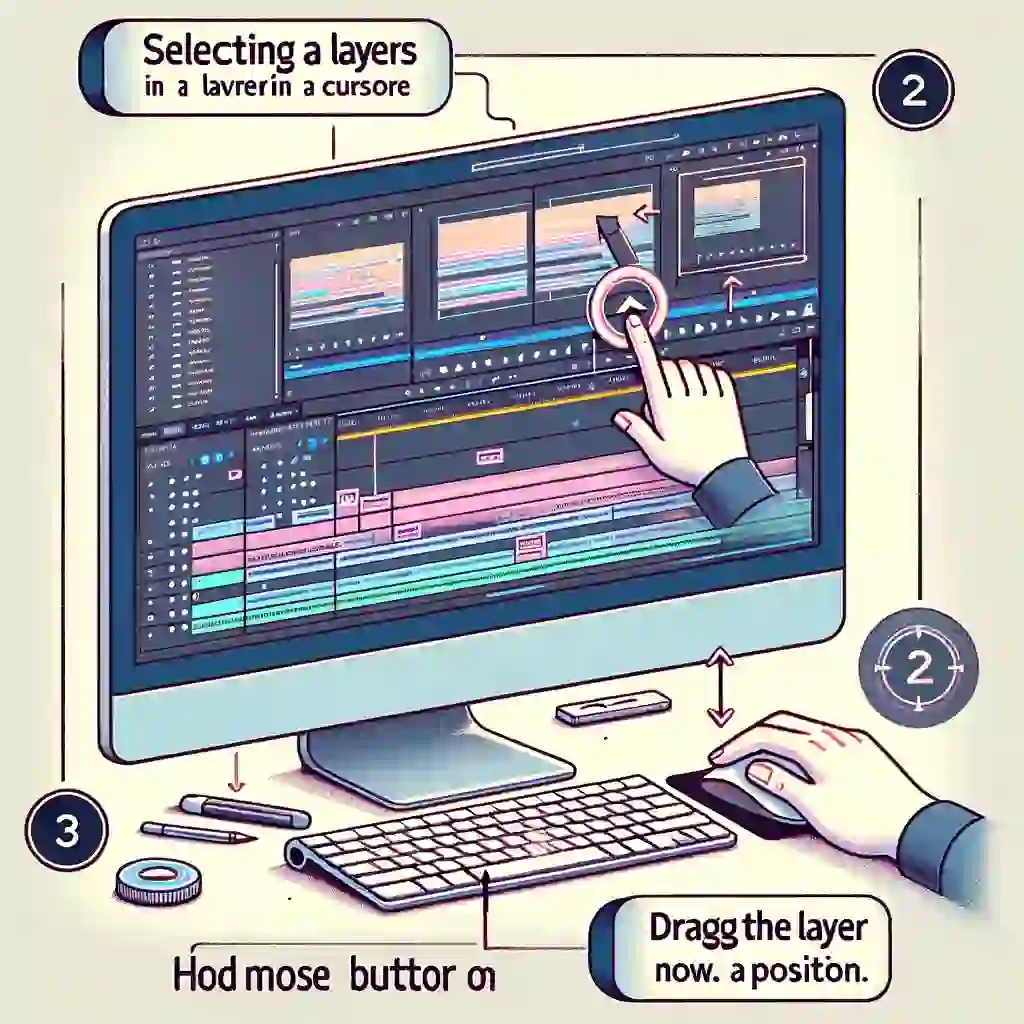
Step 2: Organizing
Layer Panel: Navigate to the layer panel, where you’ll see a list or stack of all. This panel is crucial for managing the hierarchy and properties.
Reordering: To move a layer up or down in the stack, simply click and drag it to its new position. At the top of the panel will appear in front and below them in your project’s visual space.
Step 3: Adjusting Layer Properties
Selection: Click on a layer in the layer panel to select it. You might need to lock others to prevent accidental modifications.
Positioning: With a layer selected, you can adjust its position in the project’s canvas. Look for positioning tools or properties in your software’s interface to move the layer horizontally, vertically, or even deeper within the scene for 3D effects.
Scaling and Rotation: Besides moving, you can also scale them up or down, or rotate them for the desired orientation and size. These adjustments are typically made using handles around the selected layer or through numerical input in the layer’s properties panel.
You may like Alight Motion Mod Apk
Step 4: Fine-tuning and Animation
Keyframing: To animate the movement of a layer from one position to another, use keyframes. Set a keyframe at the start point of the movement, move the playhead to where you want the movement to end, adjust the layer’s position, and set another keyframe.
Preview: Regularly preview your project to ensure the move and appear as intended. Adjust keyframes, layer order, and properties as needed.
Best Practices
Naming: Name clearly to keep your project organized, especially as it grows more complex.
Grouping: Group related together if your software allows. This simplifies management and editing of complex sections.
Non-Destructive Editing: Use masks and adjustment to apply effects without permanently altering the original media.
FAQs
Q. How do I create a new layer?
To create a new layer, start by opening your project in the video editing software. Look for an option such as “Add Layer,” “New Layer,” or a “+” icon, usually found in the panel or toolbar. Select the type of layer you want to add (e.g., video, image, text) and it will appear in your project.
Q. Can I rename a layer?
Yes, you can rename to keep your project organized. Simply select the layer you want to rename in the panel, look for an option to edit or double-click on the layer’s name, and then type in the new name.
Q. How do I move a layer up or down?
To adjust the order, click and hold the layer you wish to move in the panel, then drag it up or down to its new position. Release the mouse button to drop the layer in place. Higher in the list will appear in front of lower down.
You may like Alight Motion Shakes
Q. How can I make a layer invisible without deleting it?
Most video editing software includes an option to toggle the visibility of a layer. Look for an eye icon or visibility toggle next to the layer in the layers panel. Clicking this icon will hide the layer without deleting it, allowing you to manage your workspace more efficiently.
Q. Is it possible to lock a layer?
Yes, locking a layer is a common feature. This prevents accidental modifications. Find the lock icon or option in panel next to the layer you wish to lock. Once locked, the layer cannot be moved or edited until it is unlocked.
Q. How can I duplicate a layer?
To duplicate a layer, right-click on the layer in the panel and look for an option like “Duplicate” or “Copy and Paste.” This will create an exact copy of the layer, which you can then modify or move independently of the original.
Q. Can I group layers together?
Yes, grouping helps manage complex projects. To group, select, you want to group together (holding down the Shift key to select multiple layers), then look for an option like “Group Layers” or use a shortcut if available. The grouped will be linked together, making them easier to move or edit as a single unit.
Q. How do I add effects to a layer?
Select the layer to which you want to add effects, then look for an “Effects” panel or menu. Choose the effect you wish to apply from the list available. You can usually customize the effect’s settings to achieve the desired result.
Q. How can I animate a layer’s movement?
To animate a layer, select it and find the keyframe controls in your software. Set a keyframe at the starting position, move the playhead to the desired end time, adjust the layer’s position, and set another keyframe. The software will animate the movement between these keyframes.
Q. What if I need to adjust the timing of a layer’s appearance?
Adjust the layers in and out points in the timeline to control when it appears and disappears in your project. Click and drag the edges of the layer in the timeline to shorten or extend its duration.
Conclusion
Mastering the creation and manipulation is essential for producing professional-quality video and animation projects. By understanding how to organize, adjust their properties, and animate their movement, you can create intricate compositions that tell your story more effectively.